Wednesday, February 4, 2015

Laundry My Nemesis is Defeated

 
The girl's room has always been a problem for me!
I had just one hamper in there but the clothes filled it so fast I was never able to keep up with it.
Three girls in one room = a lot of dirty clothes in one room.
I have finally found a system that works for me so I'm sharing with you.
 Hopefully it helps someone out there who has a similar issue!
 
Here is what I bought:


I then used Fabric markers to make each bag their own!
 
 
It has eliminated sorting girls clothes from my laundry list!
Once a girl's bin is full we dump it in the wash and it comes out presorted! Yay!!

 
It fits perfectly in their closet!

 
Even my almost three year old knows which one is hers and puts her dirty clothes in it!
They love it and so do I!
No more dirty clothes on the floor!! Yay!!

Saturday, January 31, 2015

Do you want to build a snowman??


Here is what you will need!
 
Plus a marker...I forgot to get the marker in the shot.


Here is where you can find FOAM BALLS.
 
 
If you need craft sticks you can of course also find them on Amazon!
 
First impale your snowman on the craft stick.

You can use any craft sticks these are just what I had on hand!


"Oh look! I've been impaled."

If you stick a piece of playdoh on your work surface your snowman will stand up!


Then comes the fun part of decorating him!

 
I cut a piece of an orange craft stick to make the nose.


Collect a couple sticks (if you have little boys -check their pockets then you don't have to go outside)


 Cut a piece of felt to make the scarf...yes I know Olaf didn't have a scarf but our snowman does!

 
 Use that marker I spoke of earlier, but didn't photograph, to make the eyes, mouth, and buttons!


 Happy Snowman making!!!


Friday, January 30, 2015

Phases of the Moon


Today my Kindergartener was learning about the Phases of the Moon!
 
We made model a Earth and Moon and talked about how they orbit.
We also talked about the sun reflecting off the moon and how depending on where the moon is in it's orbit is how much light we see reflecting!
 
 
Here is what you will need to make your models.


First break a piece of playdoh off
 
 
Smoosh the popsicle stick into it.
(you could also use a toothpick or pencil if you don't have popsicle sticks on hand)


Put the foam ball on top of that!


Have them paint it!


Everyone wanted to get in on the action!


We then took them into the bathroom and used a flashlight to show how the light reflects differently. 


I also cut some moons out of paper and had her glue them down to show the different phases of the moon.


A quick google search of phases of the moon will come up with loads of info and great pics!!
One small step for mom, one giant leap for our Homeschool day!


Monday, December 15, 2014

Make your own Christmas wreath!

 
It is easier than it sounds!


First off you will need an old wire hanger
or you can buy a wire base:
 
Here is what I used:


Lay your greens on the wire,
wrap the floral wire around a couple times,
and make sure it is tight.
 
 
Lay the next branch on top of the wire. You don't want to see it! ;)
 
Continue to wrap with wire, then lay another branch. Repeat.
Keep all the branches going in the same direction.
 
When you get to the end pick up the first branches you put on and tuck the last ones under those so that the ends are hidden!
 
Once you are done attaching the greens you can trim any parts that stick out too much.

Add your decorations and hang it on your door!
 
This one was a gift for our new neighbors!
 
This is the one My 10 year old made for her Grandpa!

This is the one on our door!


Friday, December 5, 2014

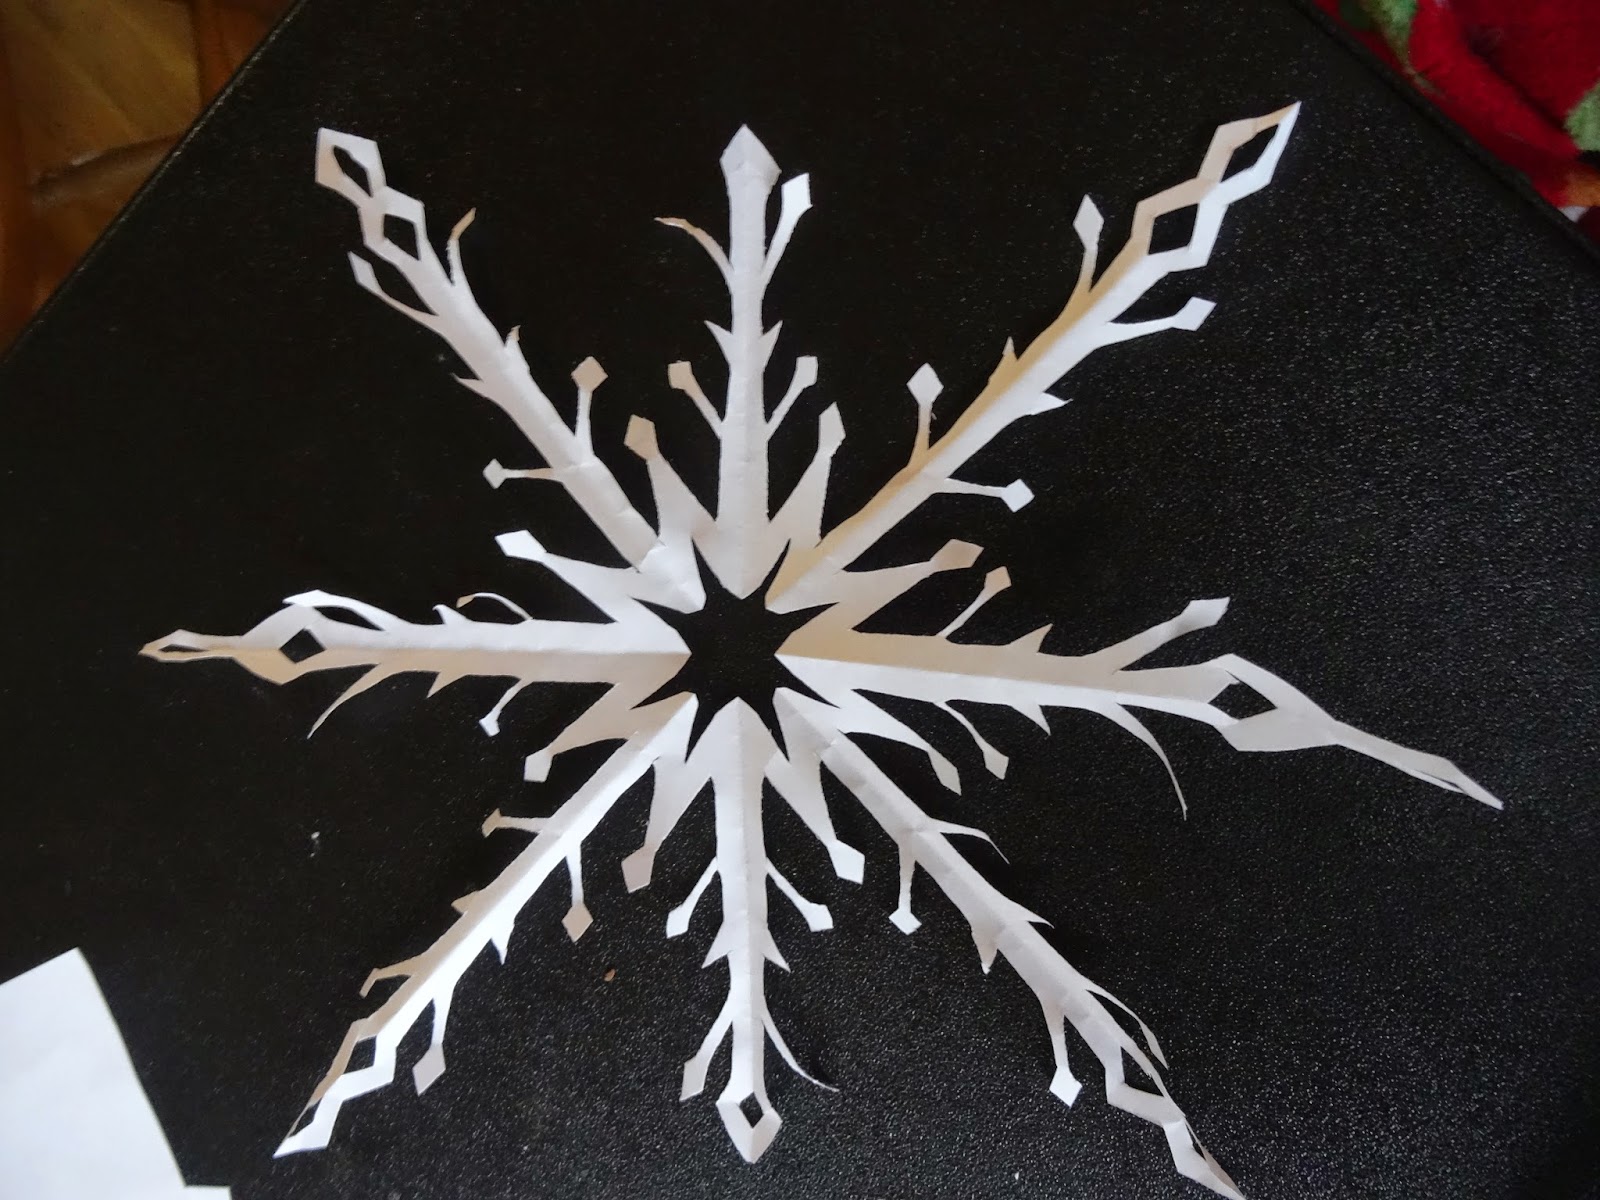
Paper Snowflakes!!


I love cutting snowflakes!
I have passed this love onto my kids and they have gotten pretty good over the years!
Here is one my oldest who's 11 (almost 12) did! 
 
 
Here's What you need! 
(A cup of coffee with a candy cane in it is optional)


  First you need to fold the printer paper in half...
You can cut the paper to different sizes to make smaller snowflakes!
 
  
 Fold in half again
 
 
 Crease the edges


 Now for little ones you stop there and draw lines for them to cut


 These triangles will become diamonds once it is opened up!
 
 
Have them cut on the lines


My 5 year old cut this one!


For my 8 and 10 year olds I make the design a bit more complicated. 
 
 
Here's how it comes out!
 
 
If you want it to be even more intricate, fold the paper one more time so you have a triangle on top!
 
 
Draw the design
 
 
Notice how the lines continue past the point the top fold of paper onto the bottom paper.


To put them in our windows
I roll a piece of tape 

 
 Then put a roll of tape on each of the points


It looks even better at night! 


Let it snow!  Let it snow! Let it snow!